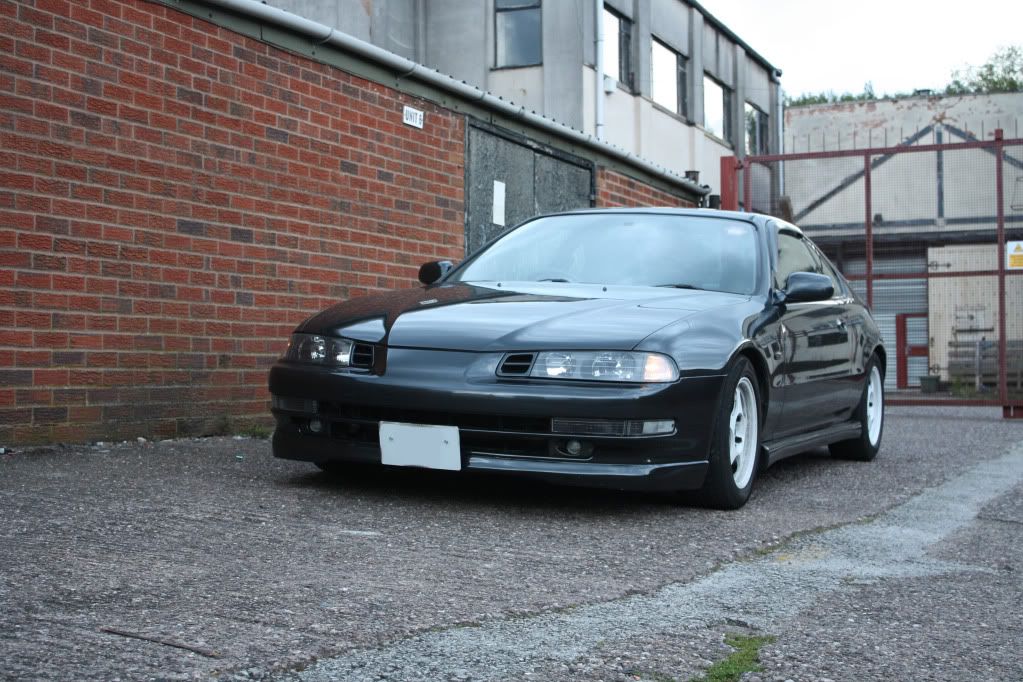
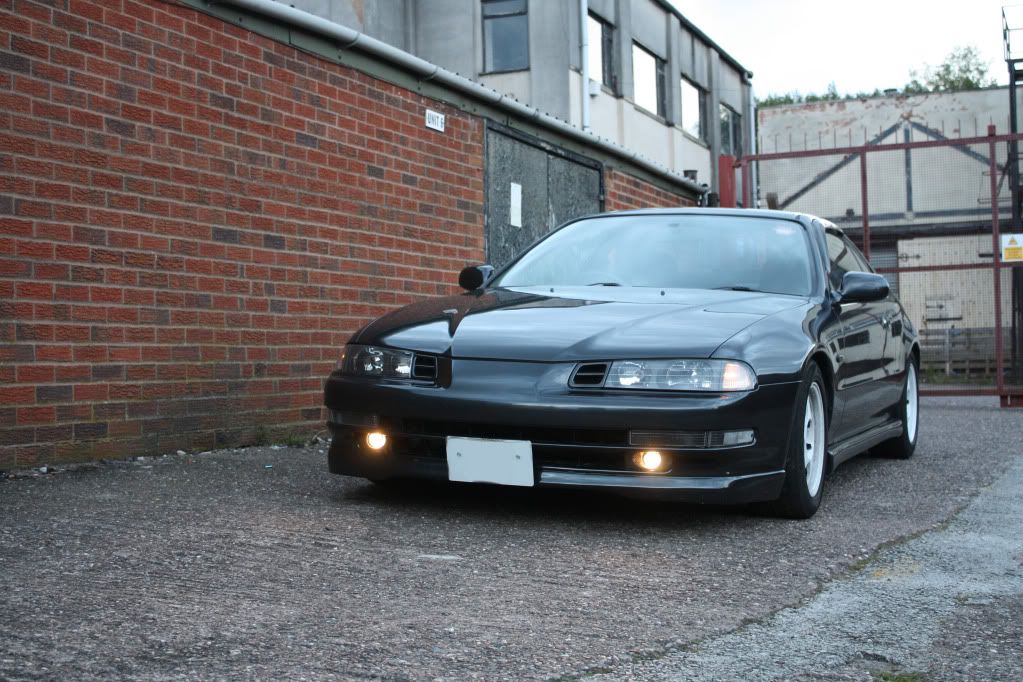
Congratulations to vtecmec for winning May/June's Lude Of The Month, with his DIY Turbo BB1 build.
>>> Click Here For Profile <<<
Marts lude - The Big Resto!
- mart609
- LotM Winner
- Posts: 3354
- Joined: Sun Aug 08, 2010 10:22 pm
- My Generation: 4G
- XBOX GamerTag: mart609
- PSN GamerTag: mart609
- Location: Dudley, West Mids
- Has thanked: 9 times
- Been thanked: 14 times
- Contact:
Marts lude - The Big Resto!
Updated spec: 07/6/14
1993 UKDM
2.2 H22a DOHC VTEC
5 Speed Manual
Air conditioning
Cruise control
Driver and passenger airbag.
4 Wheel Steer
Modifications:
Engine:
AEM CAI Induction kit
Greddy 4-2-1 manifold
Tanabe SMR Catback System
Yellow Top Optima Battery
Red Rocker Cover
Colour Coded Rad Stays and Battery Stay
Carbon Plug Cover
Tenzo R oil cap
Stainless Steel VTEC Battery Cover
Forbidden Motorsports Cooling Plate
Skunk2 Magnetic Engine and Transmission Oil Drain Bolts
Blue Iridium Power Core HT Leads
Transmission:
Forbidden Motorsports Short Shifter
Chassis and Brakes:
15" Prelude Sawblades wrapped with Uniroyal Rain Expert 205/55/15 Tyres (winter)
16’’ Mugen MF8's wrapped with Toyo Proxies T1R 215/50/16 Tyres
Black Diamond Grooved Discs up front with Black Diamond Predator Pads, Standard Discs on rear with Standard pads
Goodridge braided brake hoses all round
H&R Lowering Springs on standard shocks
Spoon Sports Front Upper Strut Brace
Spoon Sports Rear Upper Strut Brace
Tanabe Sustec Rear Anti Roll Bar
Bodywork & Exterior:
Full Respray in Phantom Grey Pearl (Original Colour)
Front Plate Tilter
JDM one peice headlights with blackhousings
Clear Foglights with Carbon Fibre Housings
Clear Indicators and Side Repeaters
De-Tango'd Rear Lights
Custom front lower lip
Euro Side Skirts
Euro Rear Lip
JDM Bootlid
Mugen Spoiler
Carbon Sunroof
Carbon Bonnet with Locking Aerocatches.
JDM Wind Deflectors
High Level prelude Light
JDM Power Folding Mirrors
Rear Wiper Removed
EPRacing Rear Tow Hook
TRS Front Tow Strap
Interior:
Leather Doorcards
Facelift Tweeter Covers
Black Leather Gear Gator with Red Stitching
ITR Gearknob
Red and Black Fitted Prelude Mats
Red Striped Prelude LTD ED Interior
OMP RS Bucket Seat (trackdays)
Takata 4 Point Harness (trackdays)
ICE:
Sony Xplod mp3 Headunit
SPL front speakers
Vibe tweaters
480w amp in boot powering front speakers
Recent Pic:
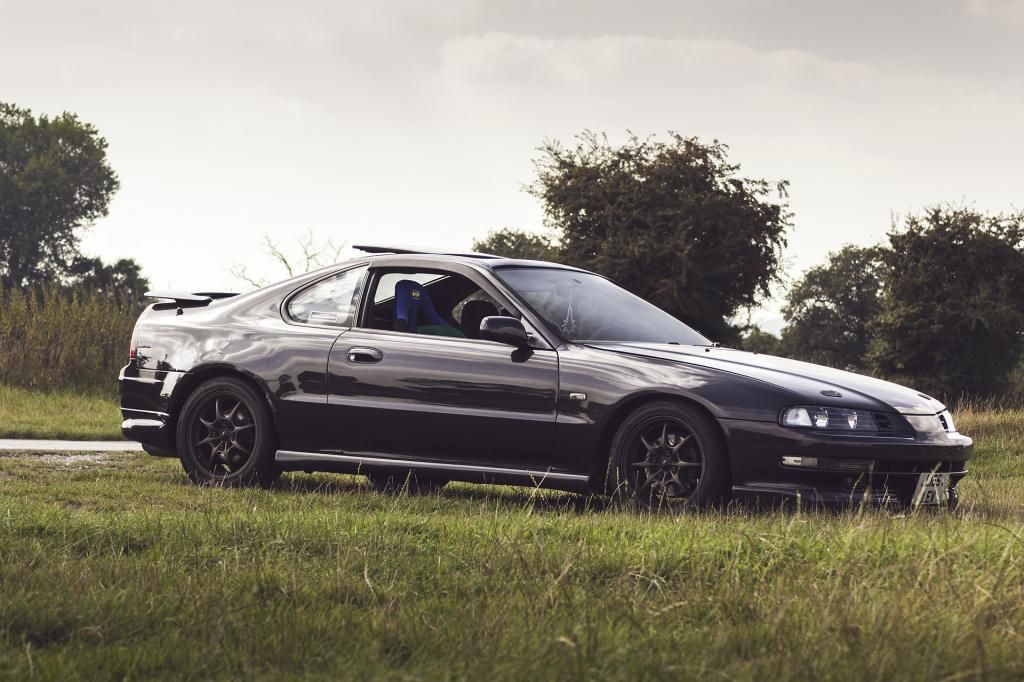
Last edited by mart609 on Wed May 10, 2023 11:39 pm, edited 48 times in total.
- indigolemon
- The Chaos Engine
- Posts: 6676
- Joined: Wed Jun 30, 2010 1:45 pm
- My Generation: 4G
- PSN GamerTag: M149YSL
- Location: Kelty, Fife
- Has thanked: 20 times
- Been thanked: 70 times
- Contact:
- lewd lude lover
- Supporter 2015
- Posts: 5658
- Joined: Sat Aug 07, 2010 9:51 pm
- My Generation: 5G
- Has thanked: 25 times
- Been thanked: 17 times
- paul bristol uk
- Moderator
- Posts: 1896
- Joined: Wed Aug 04, 2010 11:51 pm
- My Generation: 4G
- Location: In a world of my own
- lewd lude lover
- Supporter 2015
- Posts: 5658
- Joined: Sat Aug 07, 2010 9:51 pm
- My Generation: 5G
- Has thanked: 25 times
- Been thanked: 17 times
- mart609
- LotM Winner
- Posts: 3354
- Joined: Sun Aug 08, 2010 10:22 pm
- My Generation: 4G
- XBOX GamerTag: mart609
- PSN GamerTag: mart609
- Location: Dudley, West Mids
- Has thanked: 9 times
- Been thanked: 14 times
- Contact:
Fog Lights
ok so here goes
the fogs themselves were installed by the bodyshop when it was in for all the work so that steps skipped
onto the wiring
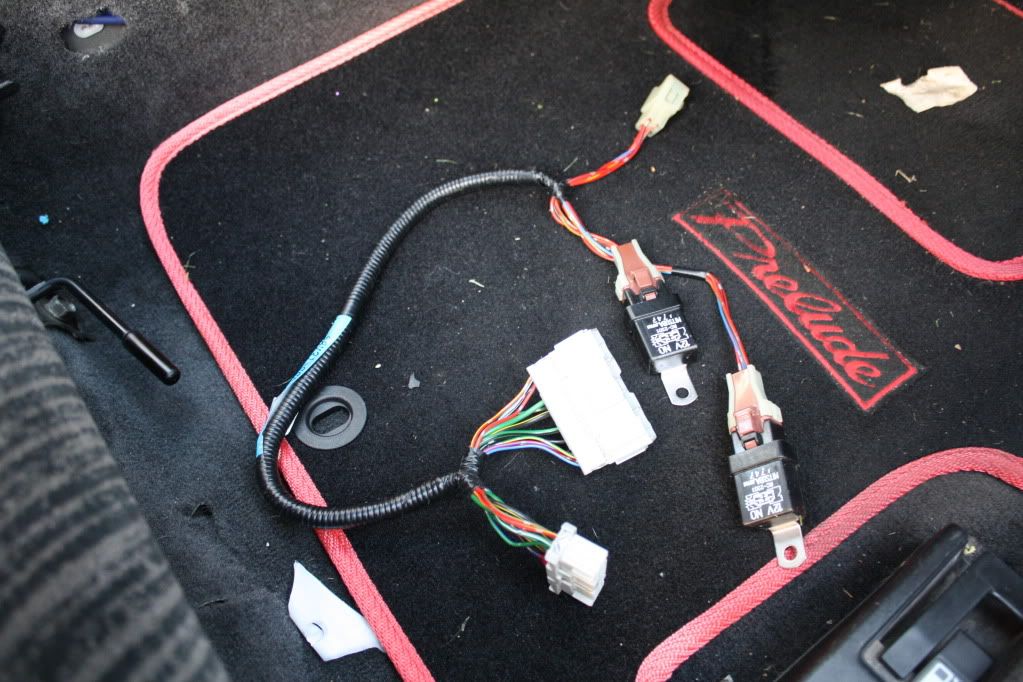
1st of all i had the Wiring harness & relays
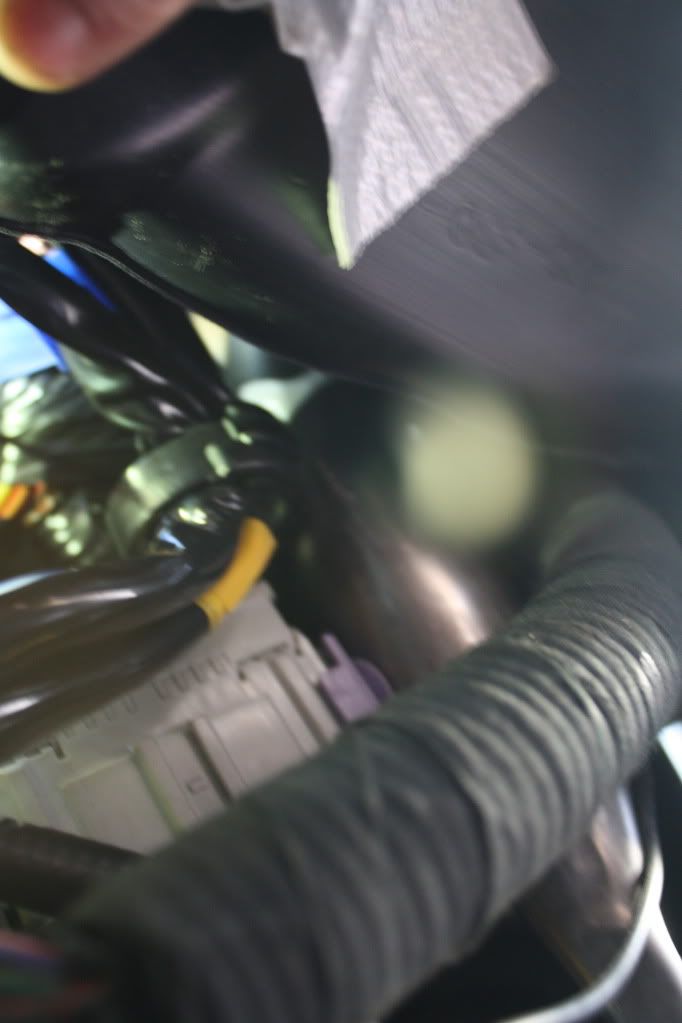
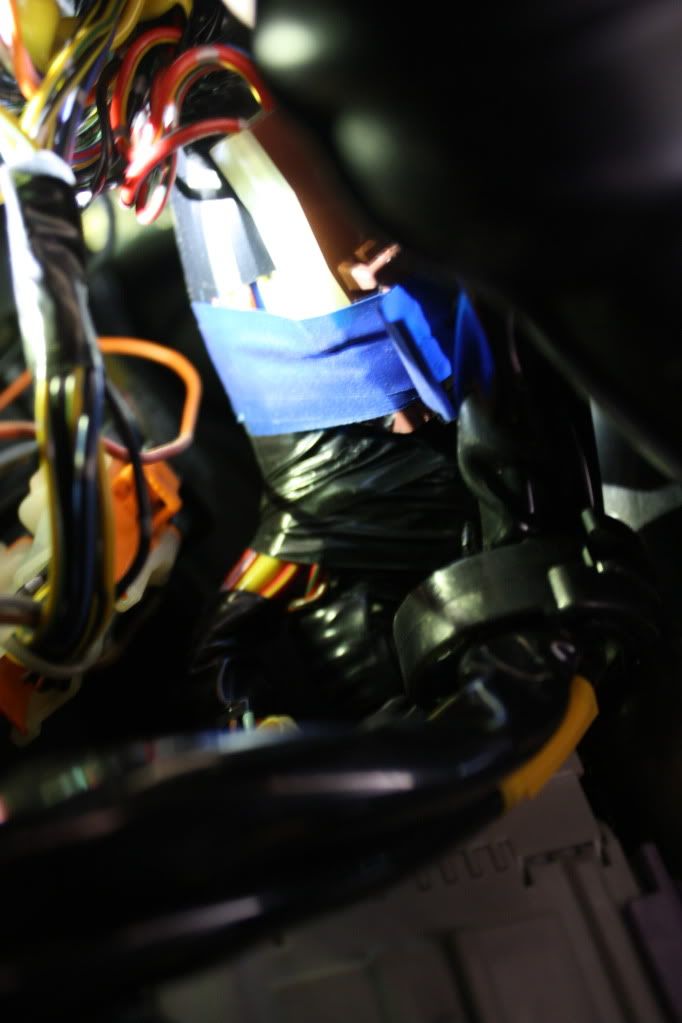
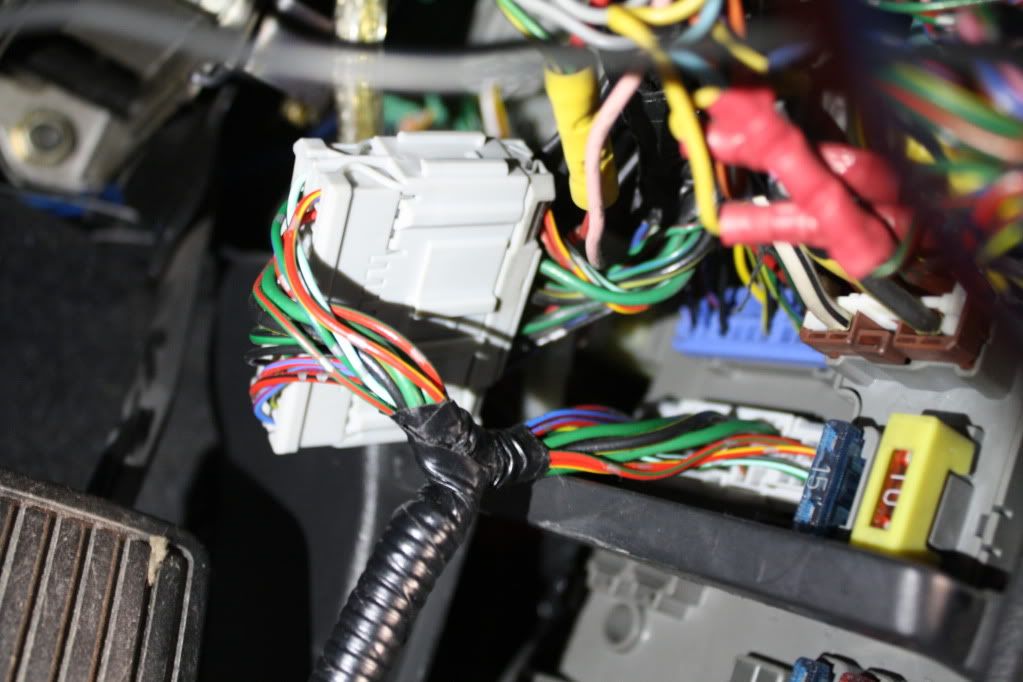
now to find the plug... underneath the dash somewhere... after a bit of searching... nothing. after a longer search with a torch i eventually found the plug taped up high up behind the airduct under the drivers footwell
from this pic you can just see the blue tape high up behind the ducting
and here a better pic
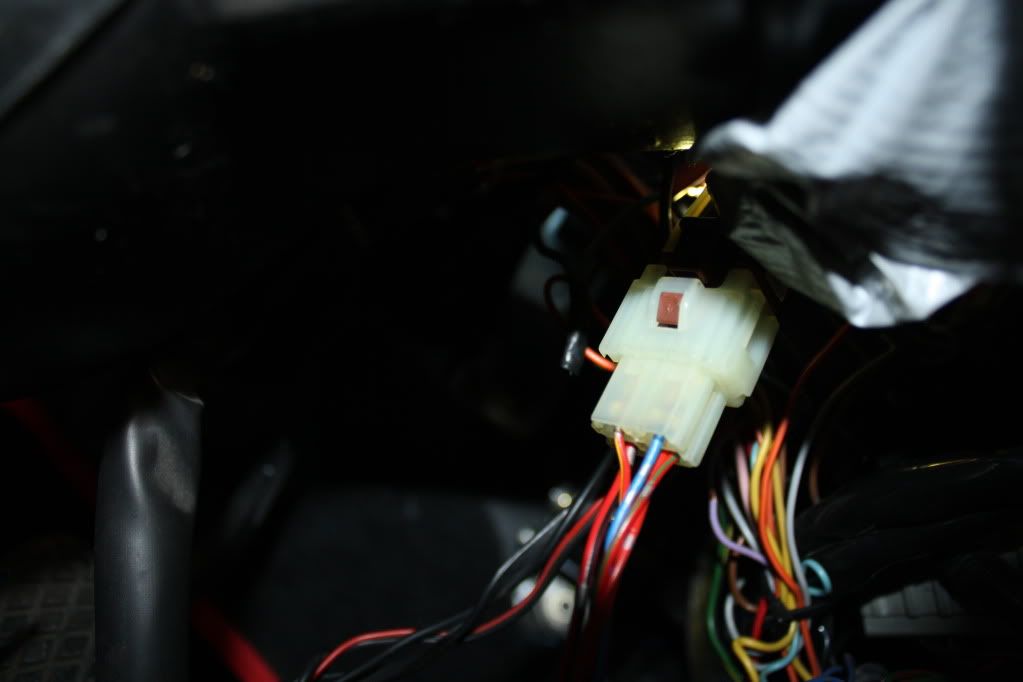
once uptaped hanging down, i connected that part of the harness to the plug
then next time to connect the rest up.
open up the fusebox and upplug the big 20 pin connector and plug it into the harness, then plug the harness back into the fusebox where you removed the connector
then position the harness neatly away with the rest of the wiring with a few cable ties.
thats that part done!
Now to the switch part
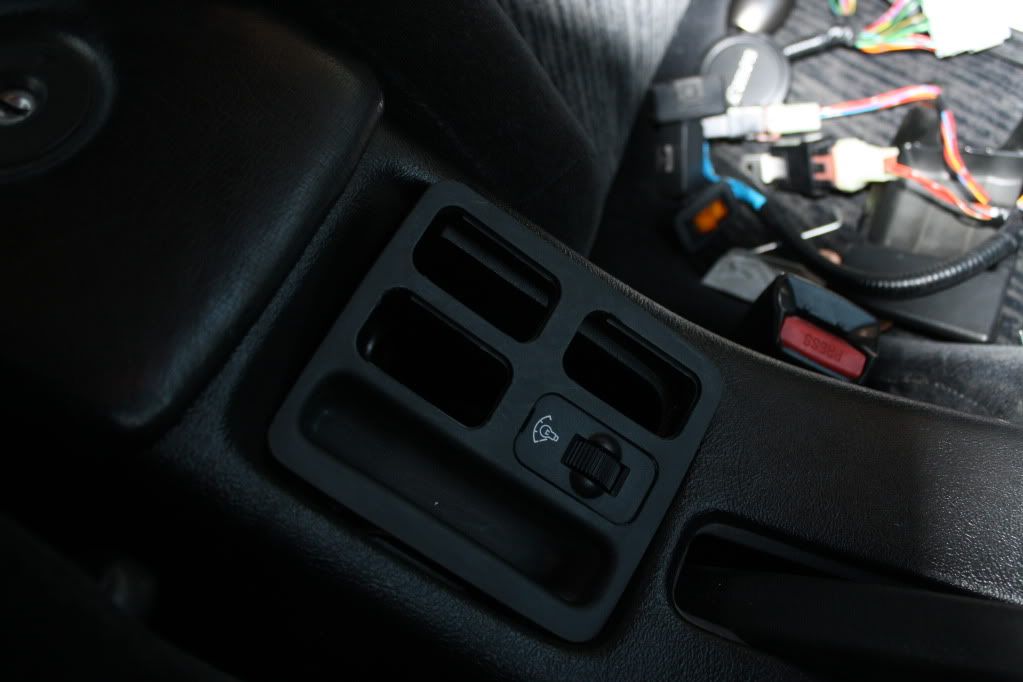
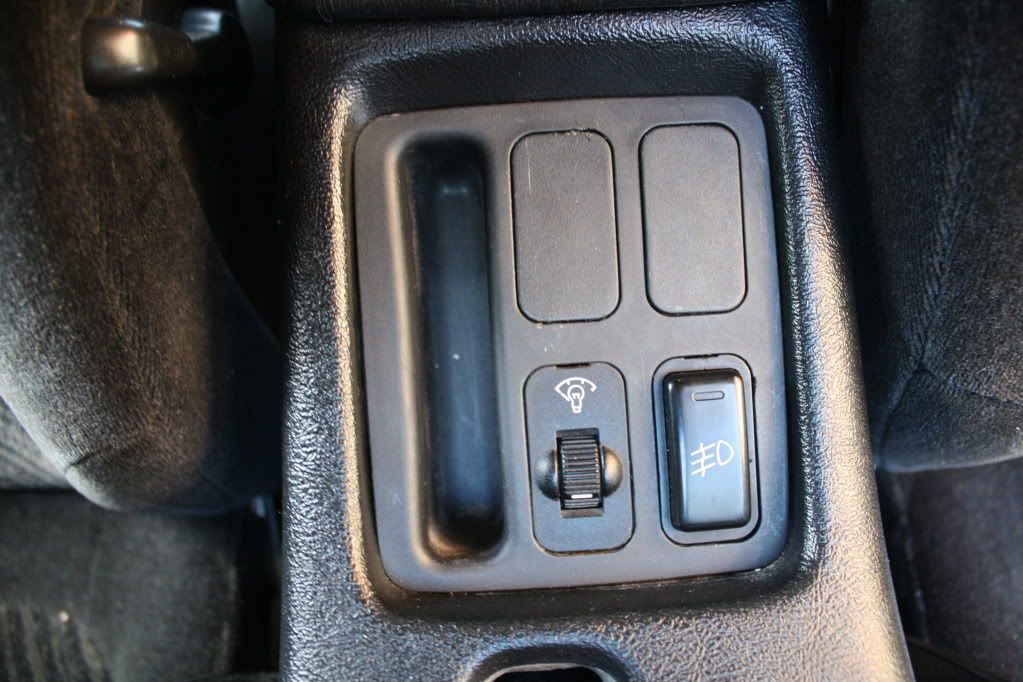
so my cars a pre-facelift so the free places for the switch to go are behind the handbrake just in front of the 'sex blocker'
so i open the cover and take a look for the connector plug
hmmm nothing there
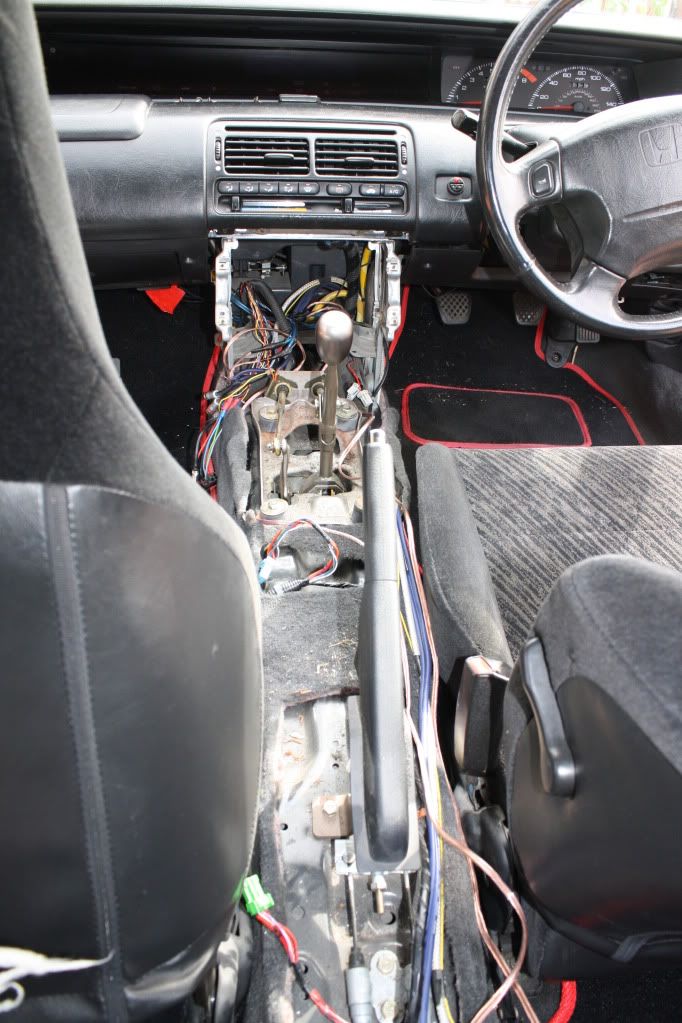
so i removed the whole centre console (which i found later i would have to do anyway to run the new wires neatly)
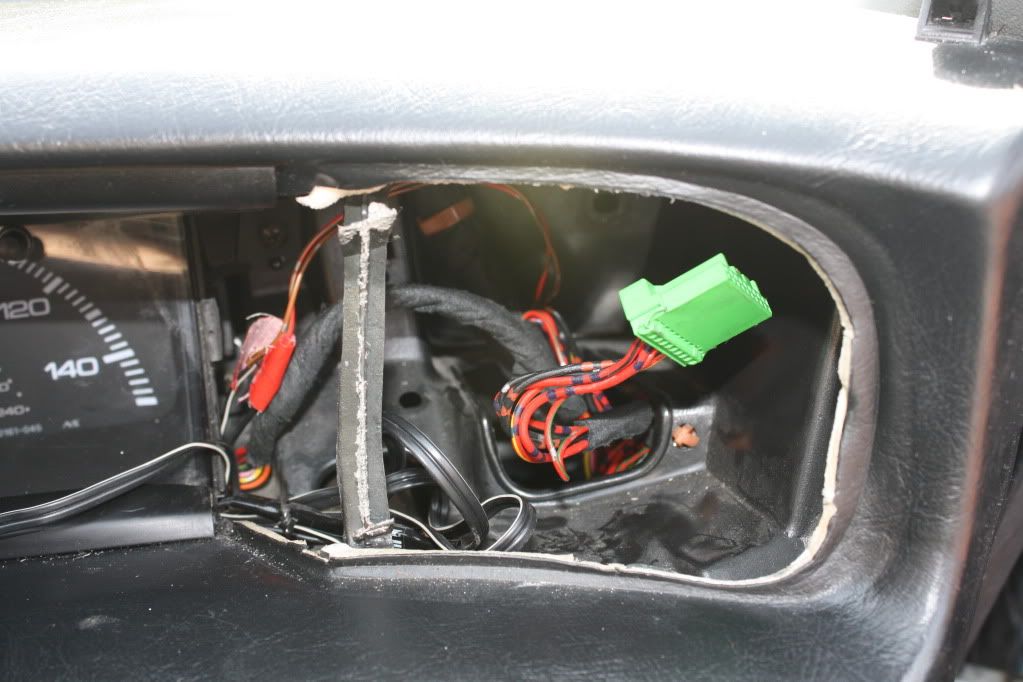
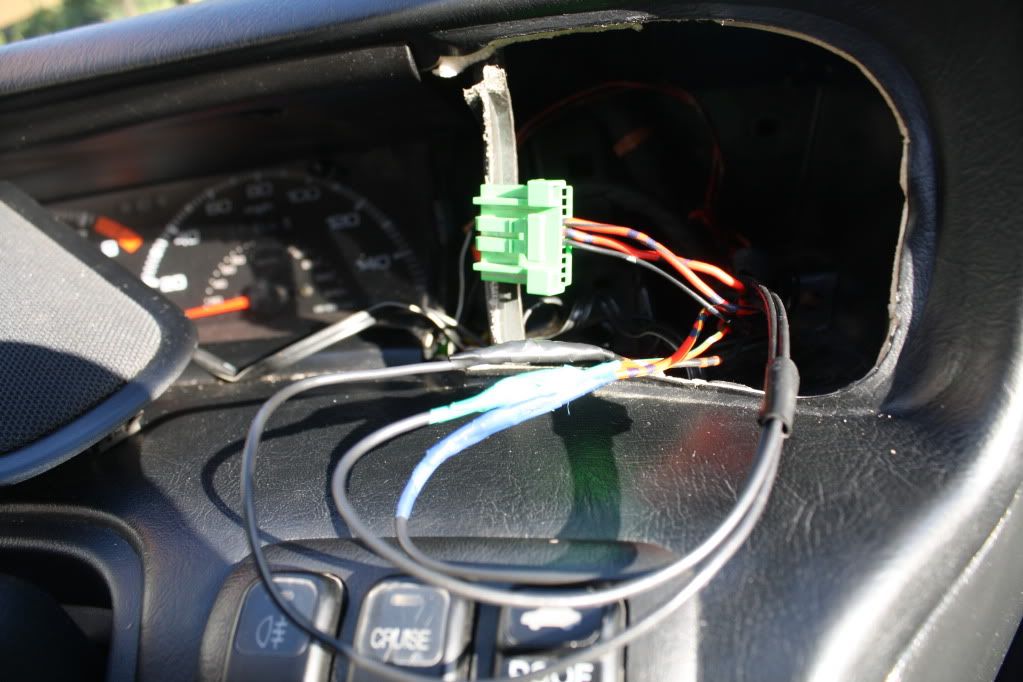
still nothing back to the tinterwebs... after some researching (thanks aardvark) i found that the pre-facelift connector is located behind the drivers side tweeter cover
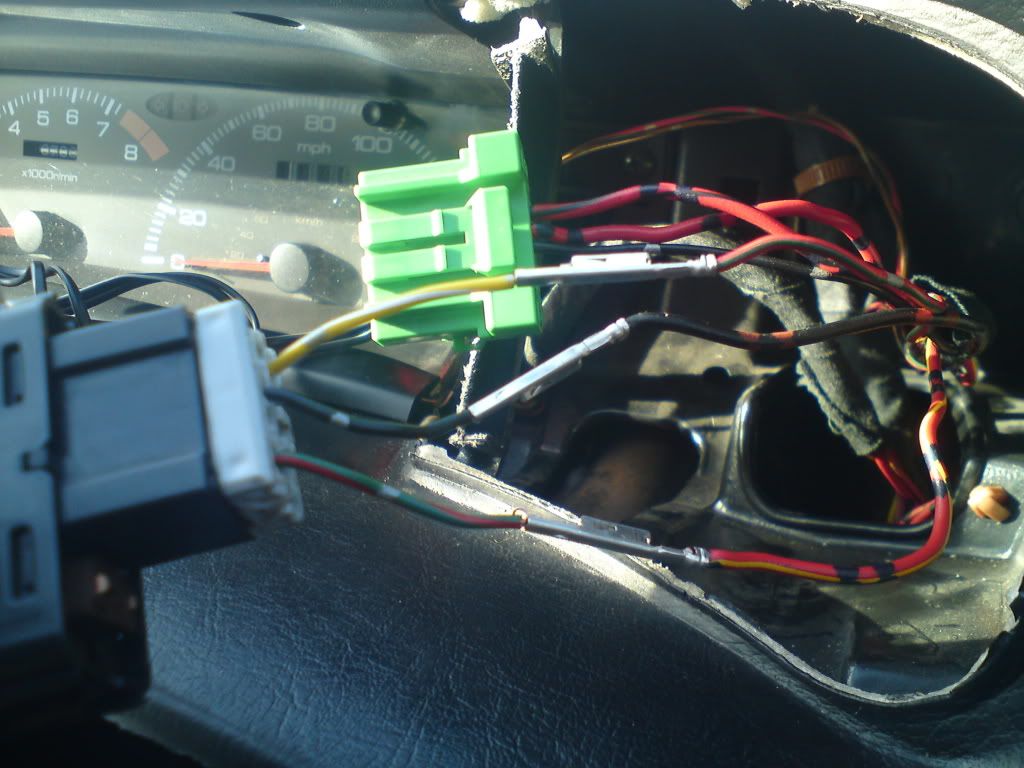
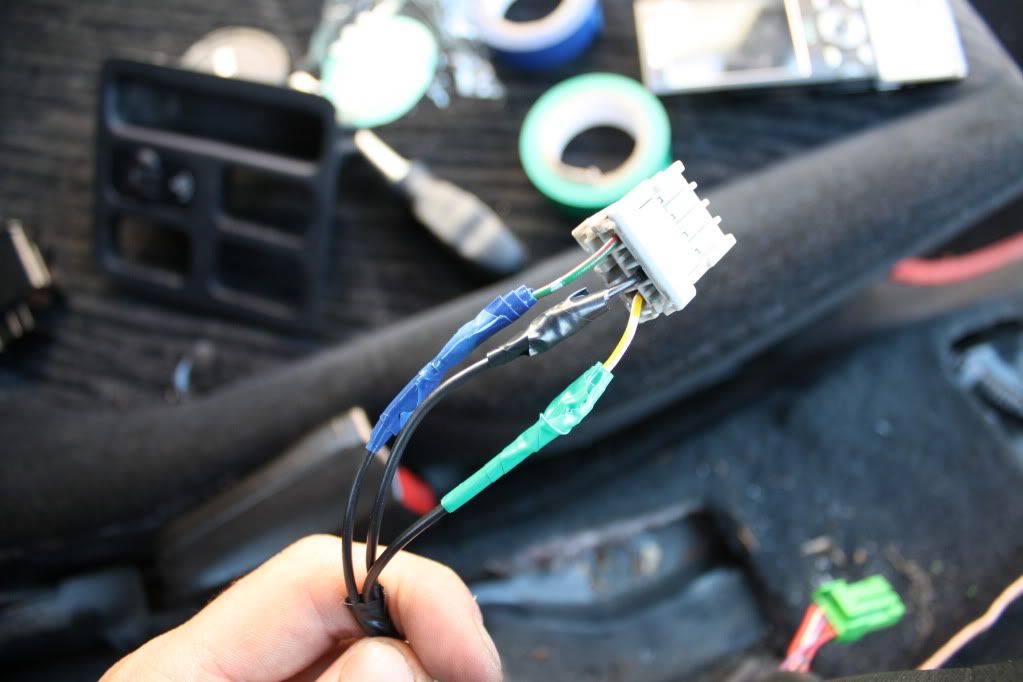
but i had a JDM switch, which had a completly different connector, which i didnt have but after some searching in the garage i found 1
so next thing was off down my mates garage to borrow his wire tester...
a short while later, we'd figured out the correct wires... some wires are not needed
then gave it a quick test to double check it worked
so onto the next, running the extra wiring to where i wanted the switch to be.
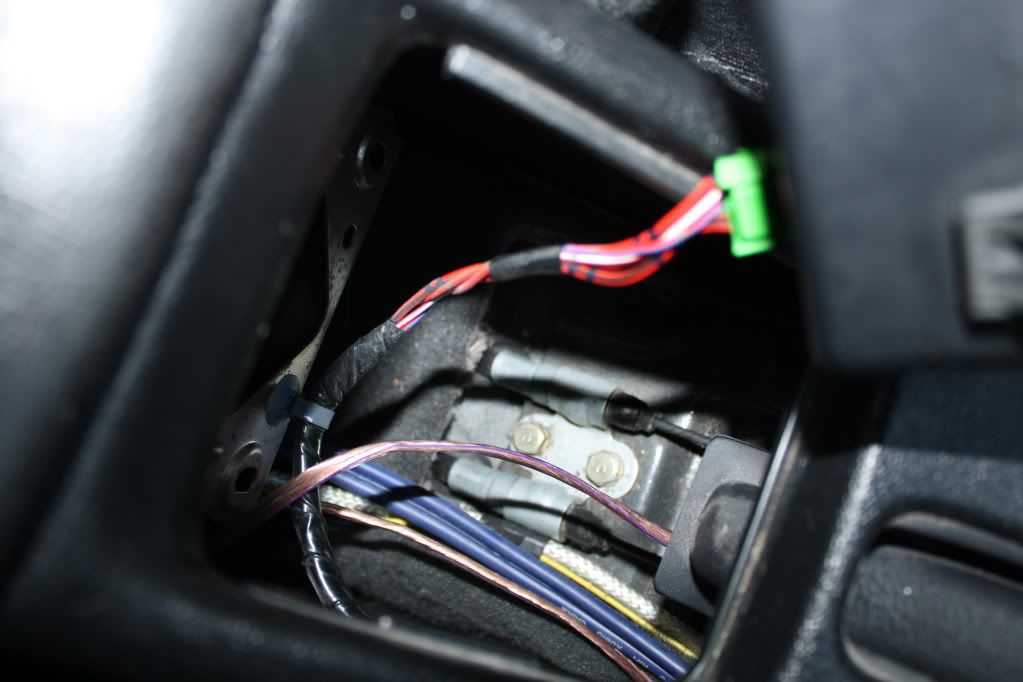
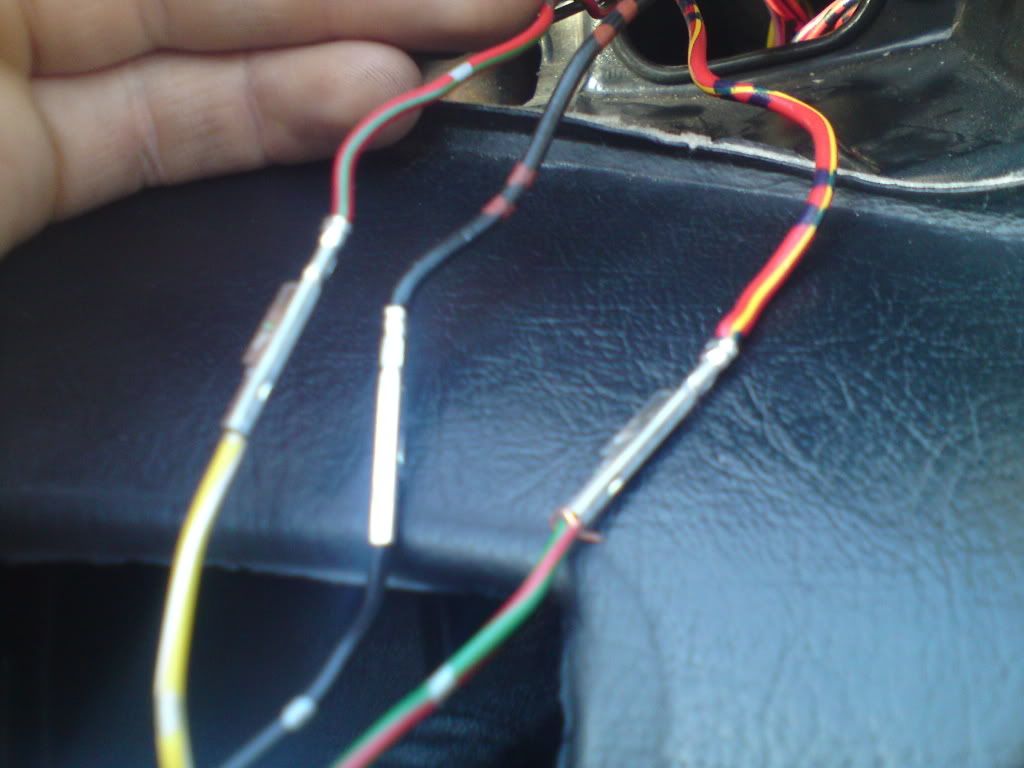
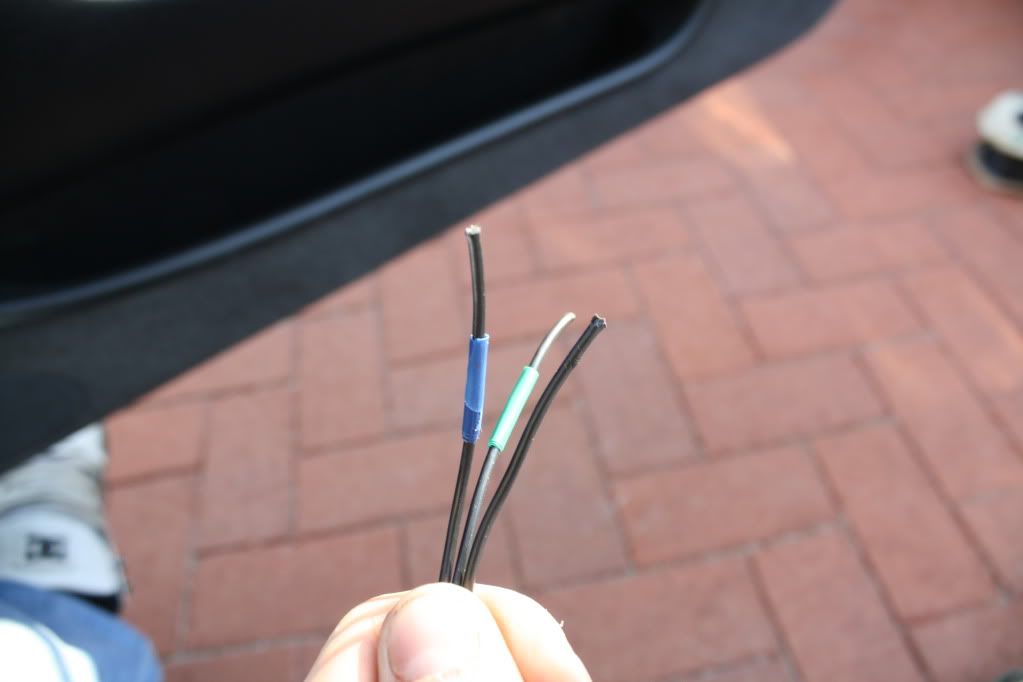
so i ran a piece of wire back through behind the tweeter under the dash and down the centre console to just past the handbrake and cut to length
then i cut another 2 pieces to the same length, then to make sure i knew which end was which, i taped the ends different colours
then proceeded to wire both ends up
with that done, only thing left was to put everything back into place, wires neatly tucked away behind the tweeter cover and centre console back in place
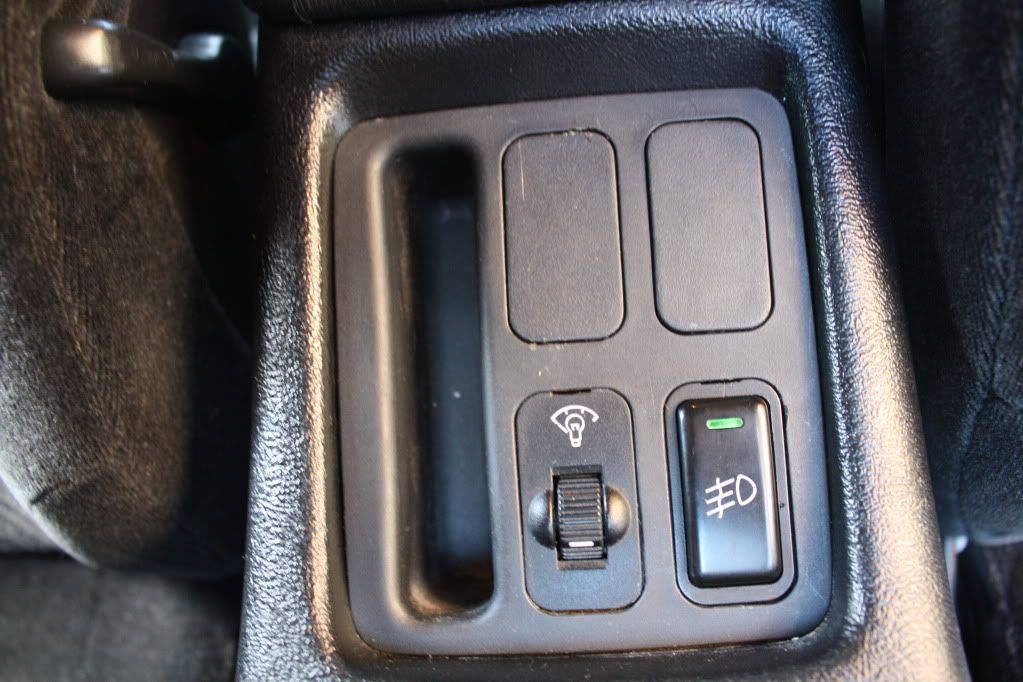
the switch.. all working
the fogs... all working
JOB DONE!